How To Make Your Own E-liquid
July 20, 2026

Despite the plethora of e-liquids on the market right now some vapers enjoy creating their own e-liquids. Creating your own e-liquids unlocks a whole new level of customisation, allowing you to play around with different bases and flavour intensities. Making your own e-liquids can also be a great way to save money, making your e-liquids go further for longer periods of time. Read on for a step by step guide on how to make your own e-liquids.
Why do people make their own e-liquids?
Before we get into the nitty gritty we should go through the benefits of making your own e-liquids, some vapers swear by the DIY approach because:
- Money saving: Making your own e-liquids can help save you money.
- Customisable: You can customise your flavour, vapour density and nicotine strengths to your own specific taste.
- Large batches: Vapers find making their e-liquids in bulk means they don't then need to worry about sourcing anymore for months.
- No bottle size restrictions: When making e-liquids for personal consumption there are no bottle size restrictions, meaning you can make whatever strength in any size bottle.
Ingredients to make DIY e-liquid
To make DIY e-liquid you will need:
- VG: VG, otherwise known as vegetable glycerin is one of two of the base components in e-liquid. Vegetable glycerin has a thick consistency and is responsible for vapour density.
- PG: PG, or propylene Glycol is a thinner liquid responsible for binding flavour into the e-liquid and producing a throat hit.
- Flavourings/ flavour concentrate: Add in some flavour concentrate! You can use a combination of several flavours as long as the base is the same. Some people do skip this step if they only want a flavourless e-liquid.
- Nicotine shots: Last but not least is nicotine! Of course this ingredient is not compulsory as you may want to make your own 0 nicotine e-liquid.
Other equipment
You will also need:
- Measuring jug/ scale: you can measure quantities by using either volume or weight.
- Graduated Cylinders: Syringe style graduated cylinders make it easy to add the right volume of each liquid.
- Empty bottles: To decant the e-liquid into.
- Pipette: To drop your flavour concentrate into the mixture.
- Mixing bowl/beaker: for you to gently stir your ingredients together in.
Step-by-step e-liquid making guide
Step 1. Create a sterile environment
When making something you are going to inhale, like an e-liquid, you need to ensure the space you use to prepare is fully clean. Clean your work area well and ensure there are no other substances around that could possibly contaminate your vape juice.
Step 2. Add your flavour concentrate
Add between 10 and 20 drops of your flavour concentrate into a mixing bowl/ beaker.You can mix different flavours together to create a completely unique blend
Step 3. Add your VG and PG base
Add your VG and PG according to the ratio you require. To work out exact quantities there are many online e-liquid calculators you can use.
Step 4. Add nicotine
Add a nicotine shot to make the e-liquid up to your desired strength. How many shots you need depends on your strength preference and how much base mixture you have mixed. Again, e-liquid calculators can help with exact measurements.
Step 5. Mix
Gently mix all of your liquids together to create your e-liquid!
Step 6. Decant your e-liquid
Carefully pour your new e-liquid into a bottle, or bottles depending on how much you`ve mixed.
Step 7. Steep your e-liquid (optional)
Leave your new e-liquid to sit in its bottle in order to let all the components chemically bond and mix together. Whilst vaping an unsteeped e-liquid is possible, your e-liquid may taste bitter and each component may not be fully mixed together.
More on steeping...
There are 4 main methods of steeping you can use:
- Store your e-liquid in a cool dark place and shake it once a day. The time you need to leave your e-liquid depends on the flavour type.
- For a quicker steeping method you can submerge your sealed bottle in warm water for around 15 minutes. The warmth of the water speeds up the movement of the molecules, allowing all the liquids to blend together. Once you have bathed your e-liquid, shake it well.
- Another method of e-liquid steeping is leaving the bottle cap off the top of your bottle for a couple of hours. This allows any alcohol in alcohol-based flavourings to evaporate.
- Finally, you could also shake the bottle well, quickly remove the cap to release any pressure. Repeat this process several times.
Nic shots & flavour concentrates
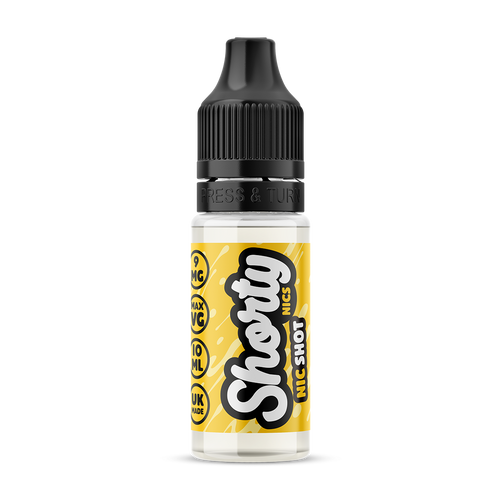
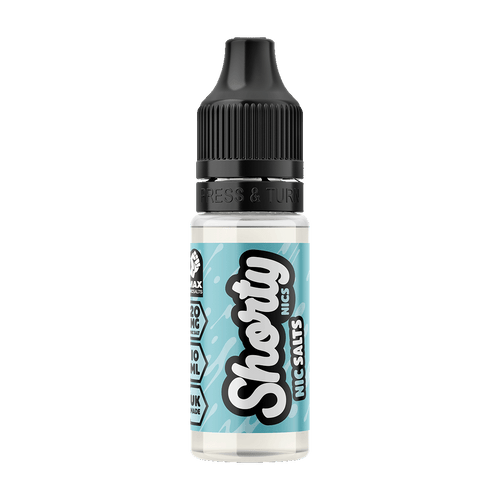
- Shorty Nics Nic Shot - 10ml
- Regular price
- £1.49
- Sale price
- £1.49
- Regular price
- Discount
- Unit price
- per
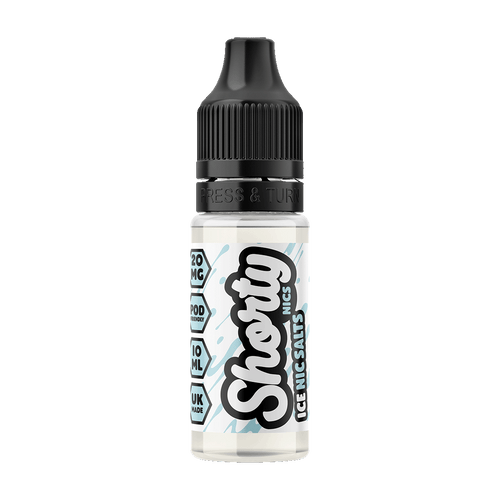
£1.49 - Shorty Nics Ice Nic Salts - 10ml
- Regular price
- £1.49
- Sale price
- £1.49
- Regular price
- Discount
- Unit price
- per
£1.49 - Shorty Nics Nic Salt Shot - 10ml
- Regular price
- £1.49
- Sale price
- £1.49
- Regular price
- Discount
- Unit price
- per
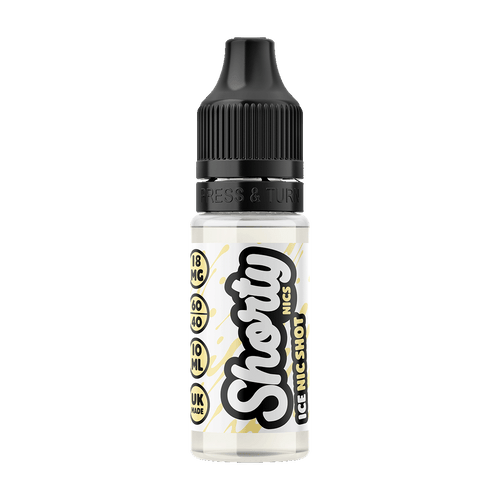
£1.49 - Shorty Nics Ice Nic Shot - 10ml
- Regular price
- £1.49
- Sale price
- £1.49
- Regular price
- Discount
- Unit price
- per
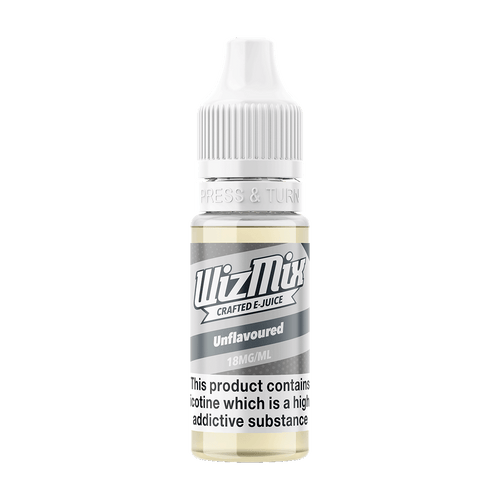
£1.49 - WizMix 50/50 PG/VG Nic Shot - 10ml
- Regular price
- £1.49
- Sale price
- £1.49
- Regular price
- Discount
- Unit price
- per
£1.49 - Aquavape Nic Juice Nic Shot
- Regular price
- £1.49
- Sale price
- £1.49
- Regular price
- Discount
- Unit price
- per
£1.49 - WizMAXX MAX VG Nic Shot - 10ml
- Regular price
- £1.49
- Sale price
- £1.49
- Regular price
- Discount
- Unit price
- per
£1.49 - Vapemate Classic Nic Shot 18mg 10ml
- Regular price
- £1.49
- Sale price
- £1.49
- Regular price
- Discount
- Unit price
- per
£1.49


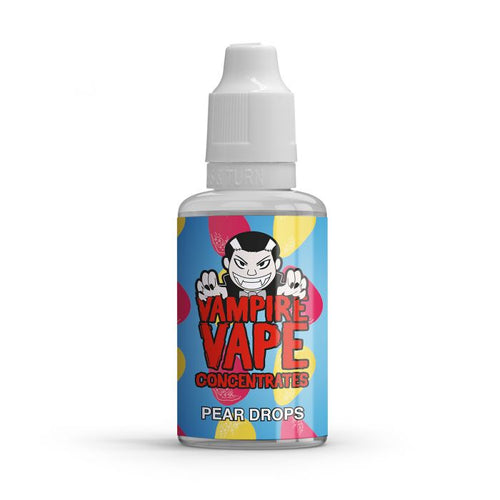
- Pear Drops Concentrate
- Regular price
- £5.40
- Sale price
- £5.40
- Regular price
-
£9.99-45% - Discount
- Unit price
- per
£5.40£9.99-45%Out of stock
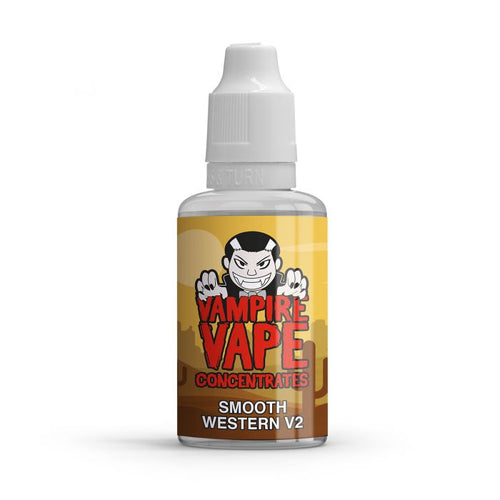
- Smooth Western Concentrate
- Regular price
- £9.99
- Sale price
- £9.99
- Regular price
- Discount
- Unit price
- per
£9.99Out of stock